
Cinderella’s Pumpkin Carriage Tutorial
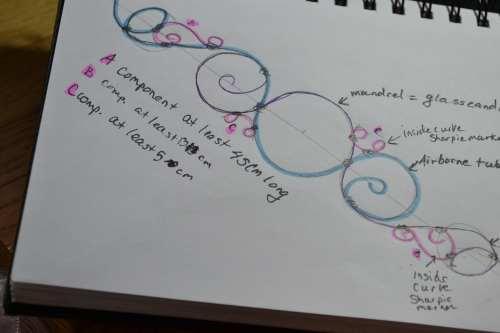
So, I was doodling and came up with a pretty wire design for a cuff bracelet using round wire. As I began to form the frame using dead soft 14 gauge round copper wire, my daughter, Sarah, says, “Hey, that looks like Cinderella’s carriage as it turns from a pumpkin to the carriage!” Thus the name of my piece was born, but in the end it also caused a quandary.First –a rough draft—it came about because I wanted a very fluid piece.
 I made the small components first, and taped the longer wire together to allow me to bend them at the same time.
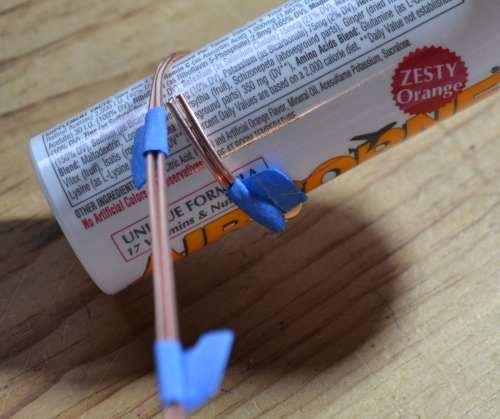 I used a mandrel for the beginning curve.
 Then used a larger mandrel for the big curve.
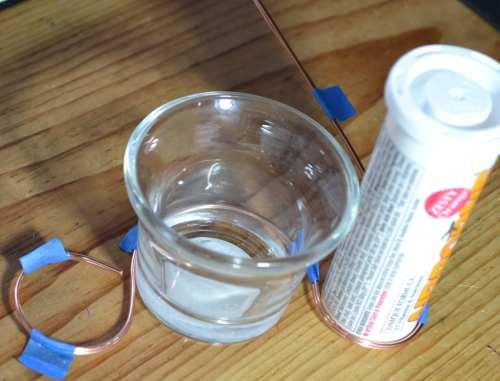 Then back to the smaller curve.
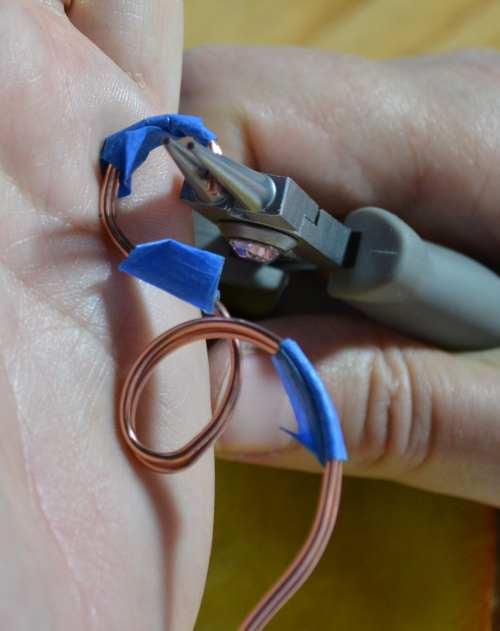
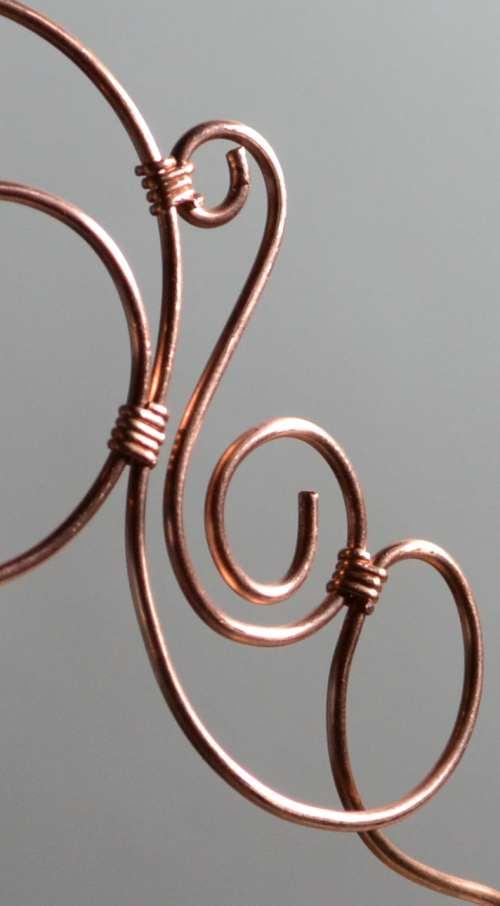
 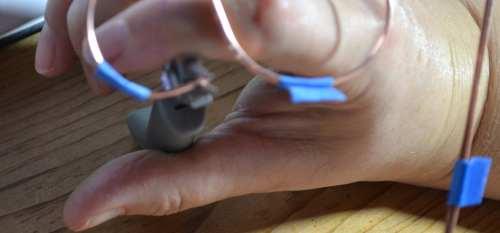 While the wires are still taped together, I turned the little loop with round nose pliers.
  So far this is what it looks like.
 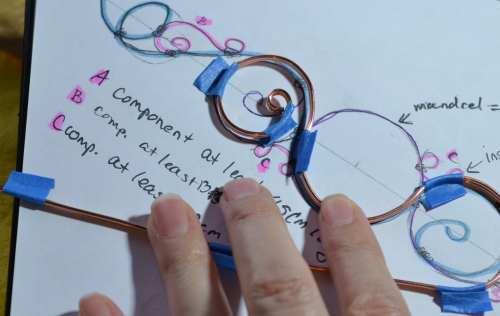 So using my pattern, I checked the curves—uh oh—a problem.
 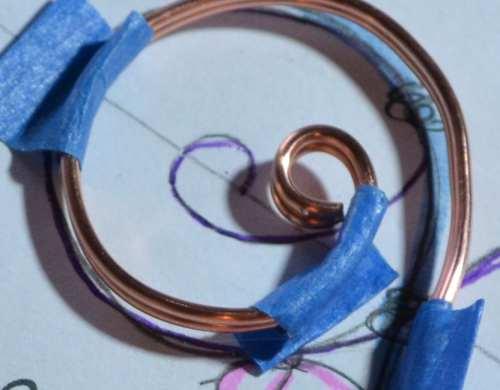 My little loop doesn’t line up.
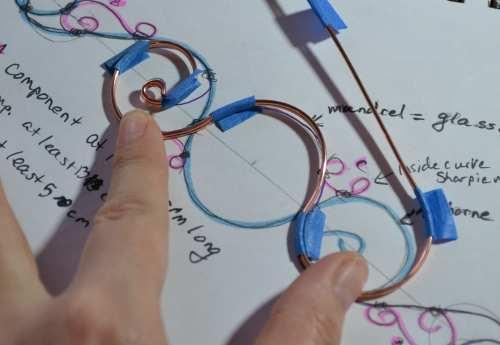 I readjusted the curves and continued following the pattern.
 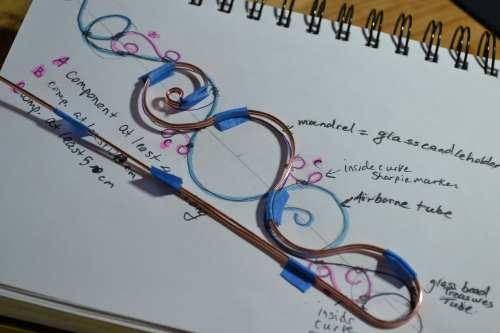 Continuing the pattern.
 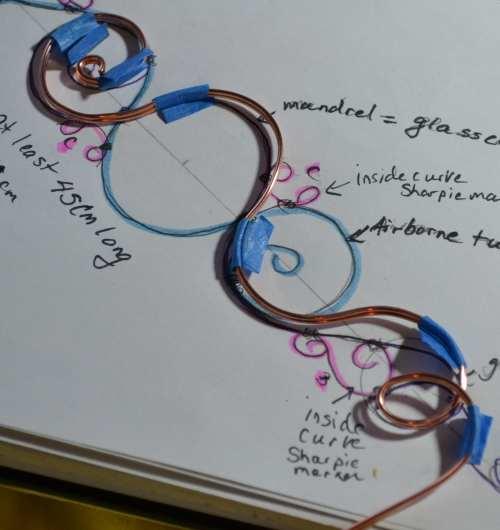 Little more to go.
 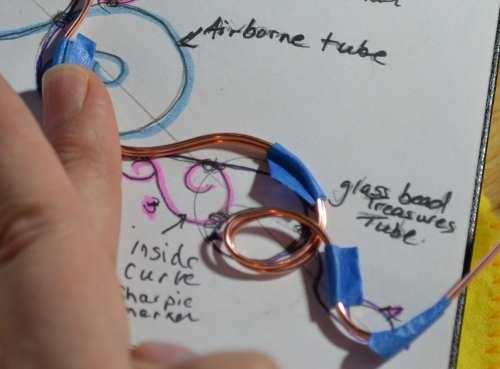 a bit more at the end.
  I had to cut the extra wire length. (on my notes I subtracted the extra I cut off to update my measurements in my notebook.
 sorry for the blurriness. I forgot to file the cut ends to smooth them until now.
 My next one I make will be filed before I begin bending it.
 I had to use my palm to bend the last part of the pattern—a small loop.
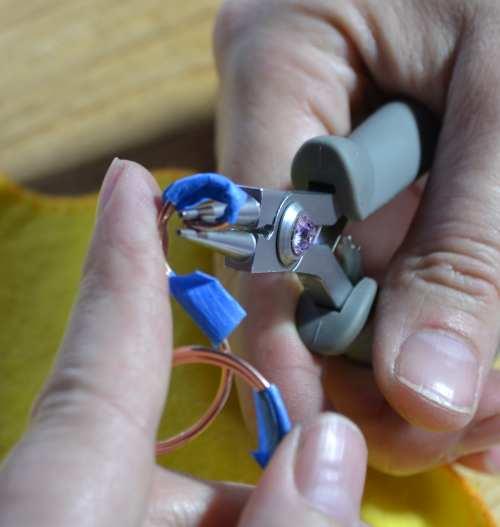 then pressed the last way with my index finger.
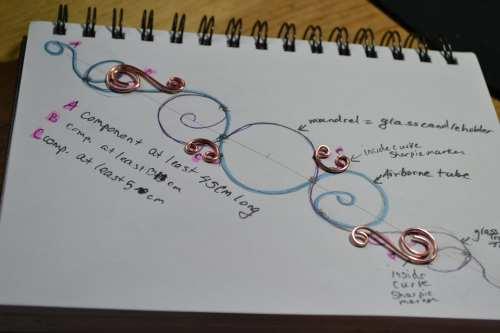
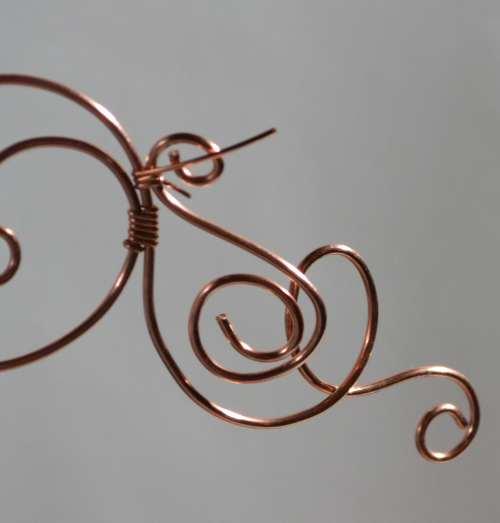
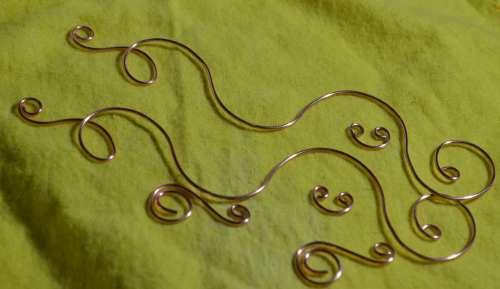 Now all the components are made. I lined them up. Looking good!
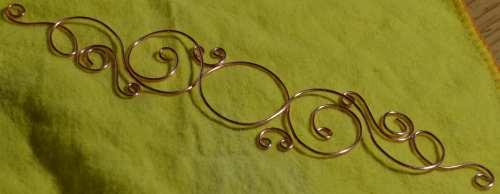
 I used a fisherman’s fly vice to hold my frame. Thanks Dad for the suggestion to use it.
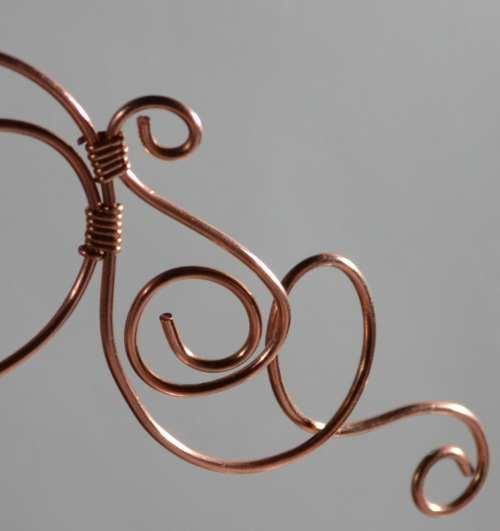
 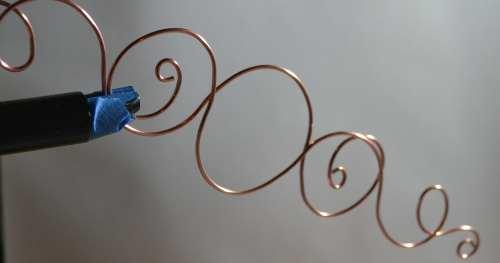 closer view—time to wire-wrap the connectors.
 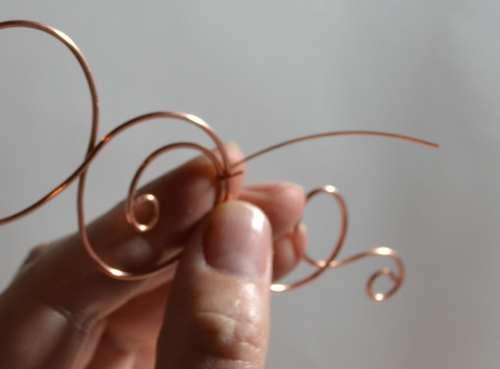 I used ½
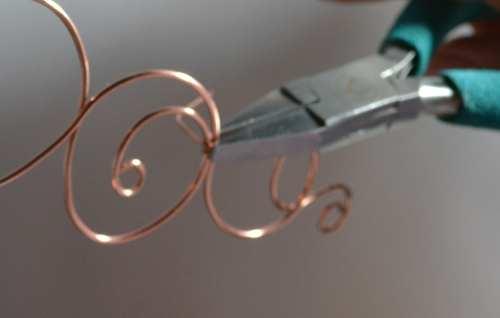 round 21
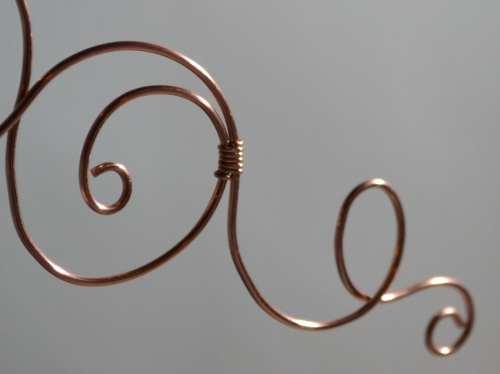
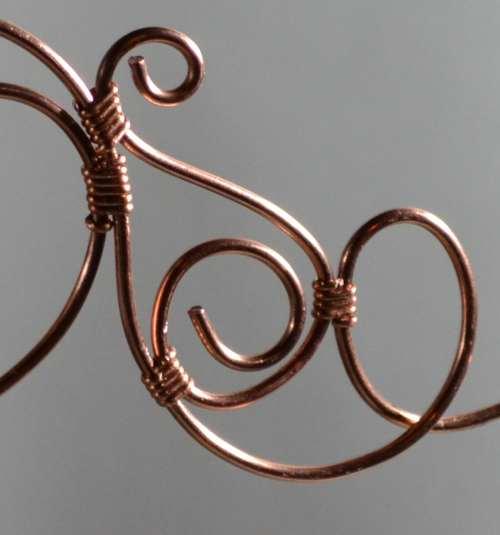
gauge copper.
Now the other side.
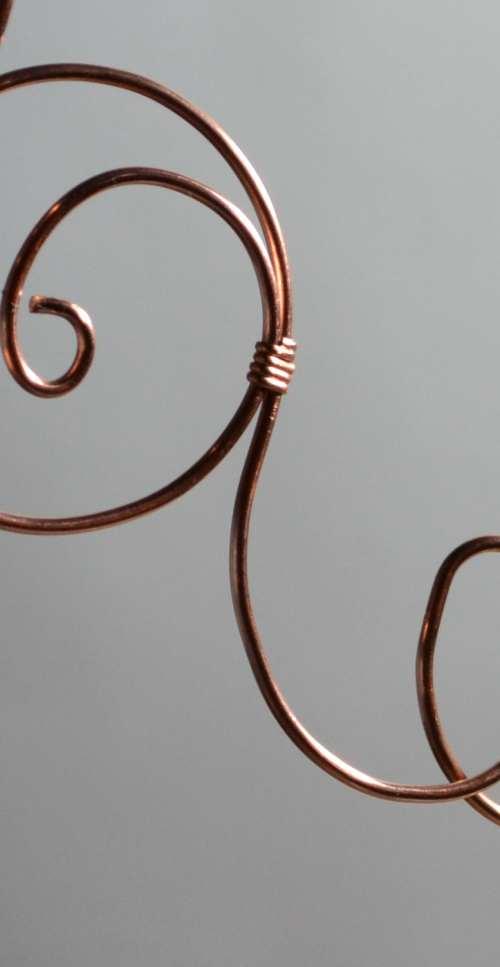
 Now it’s all together.
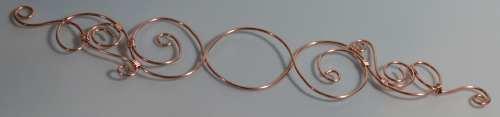
…What to do now? See part 2.
No comments:
Post a Comment
Please feel free to comment.