Here goes nothing.
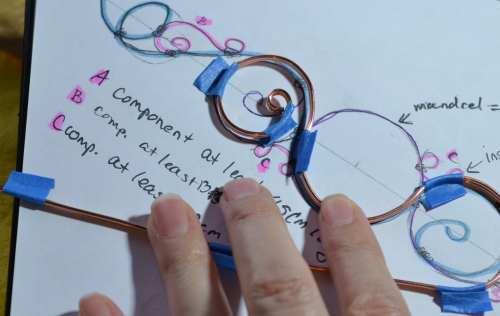
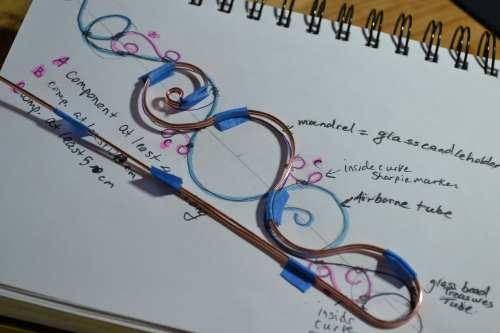
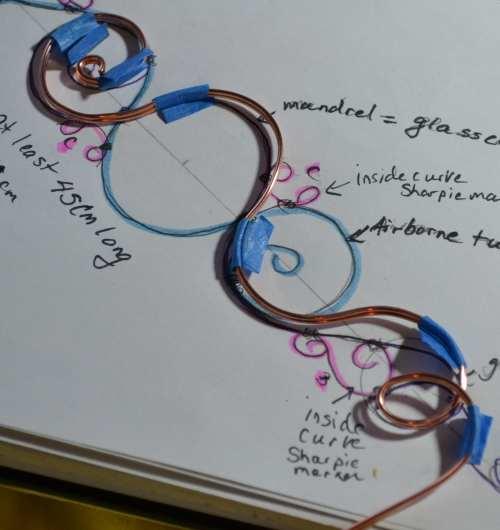
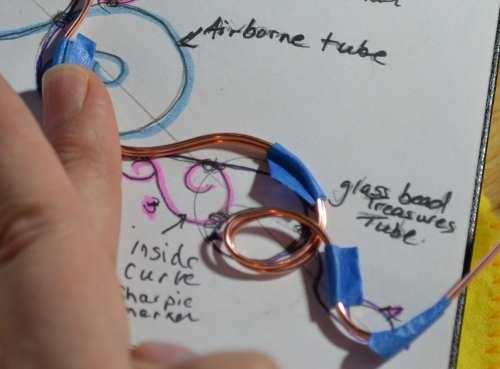
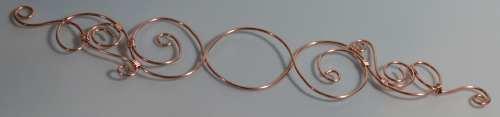
I got to this point and had intended on molding the
bracelet around of a mandrel at that point. But it just cried out for some
embellishing since it was “Cinderella’s Pumpkin Carriage”. I mean, what type of
carriage was only copper colored?
 |
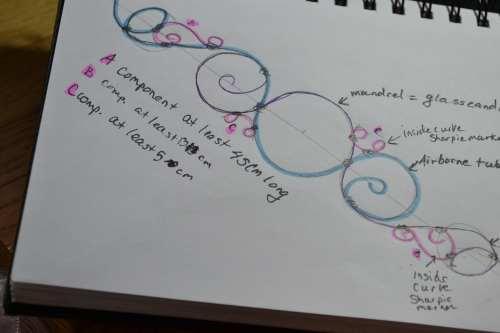
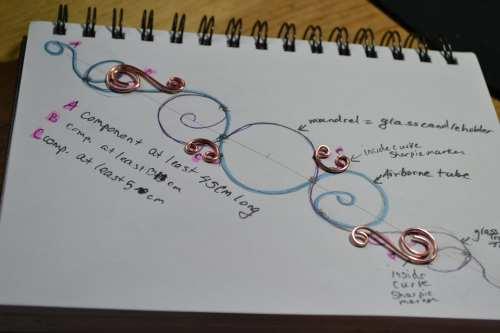
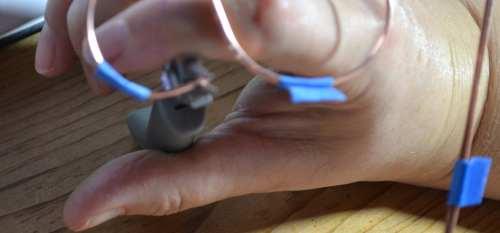
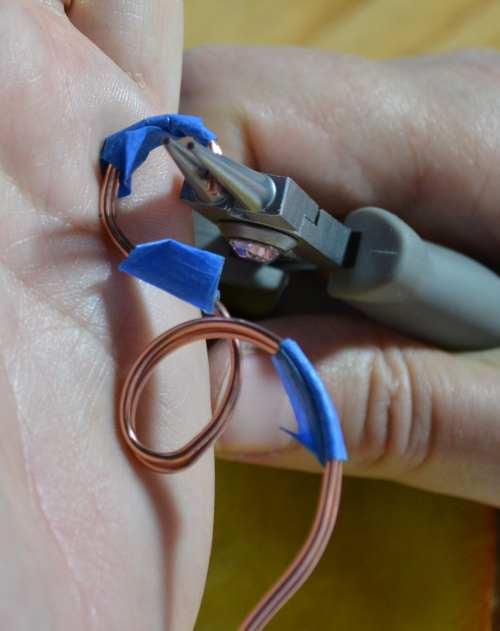
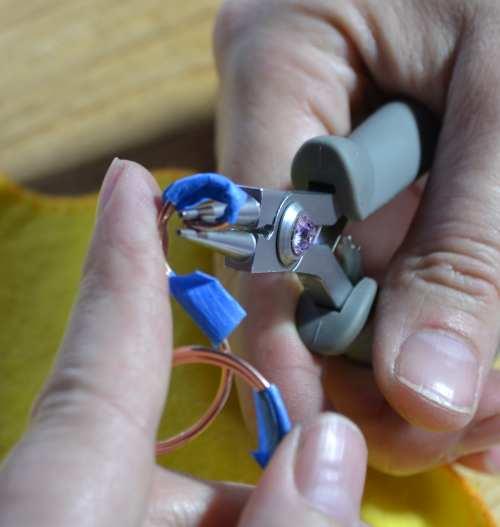
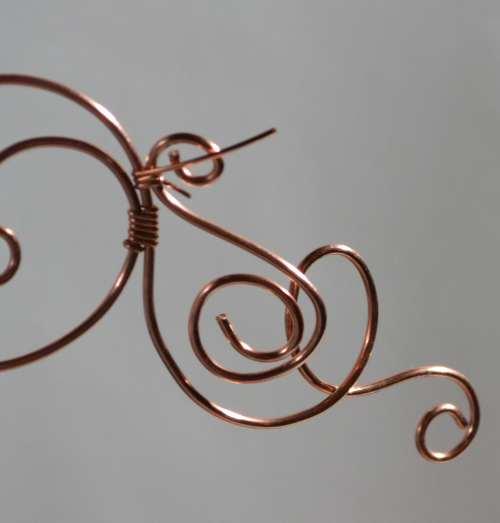
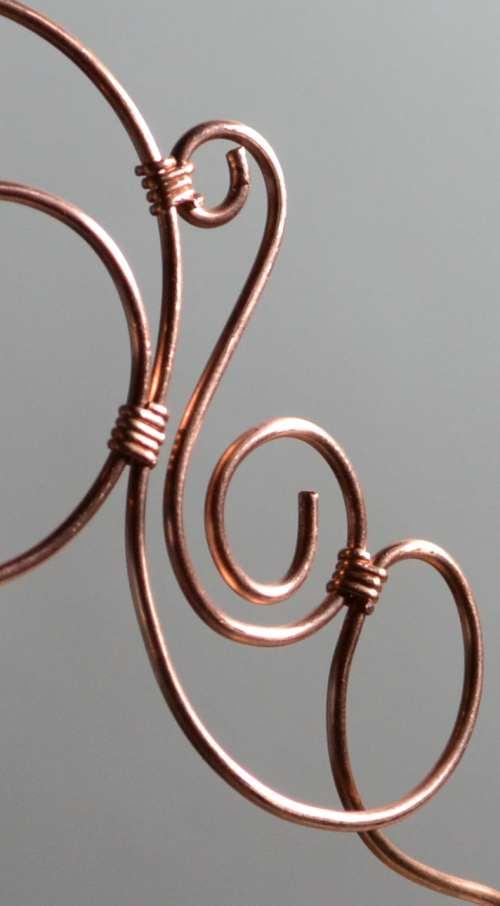
| Remember, I started with componenets |
 |
| wire-wrapped them together |
This is where my problem started. I had some silver plate copper 26 gauge round wire, small silver beads, and some blue/purple (depends on the light) cubic beads.
Hmmmmmm. Looks like I could use viking weave in the center to make the beginnings of the carriage body. When I did decide to embellish it, I went all the way.
 |
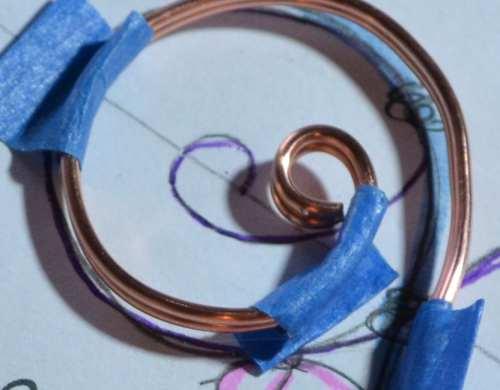
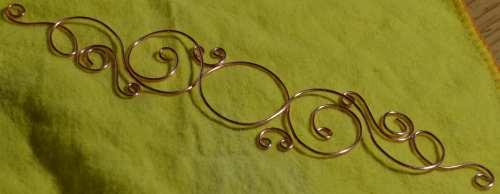
So here is the carriage body
|
Viking weave with silver beads placed in the loops
 |
| Side view. Yes, it sticks outward. Convex shaped |
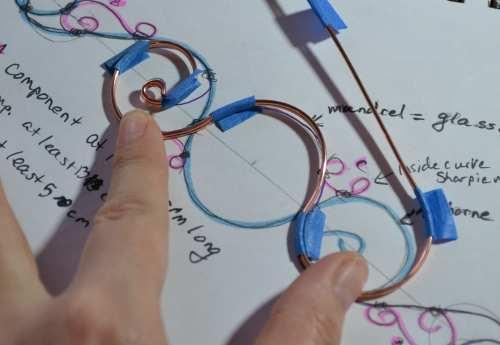
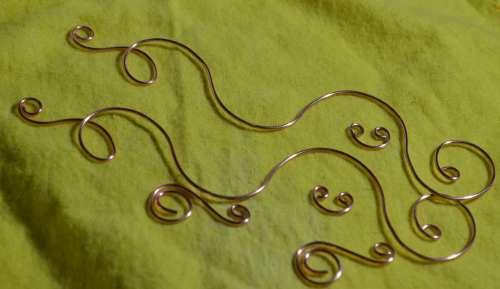
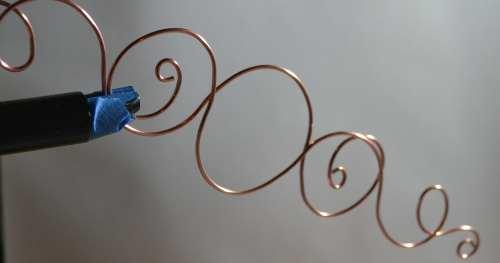
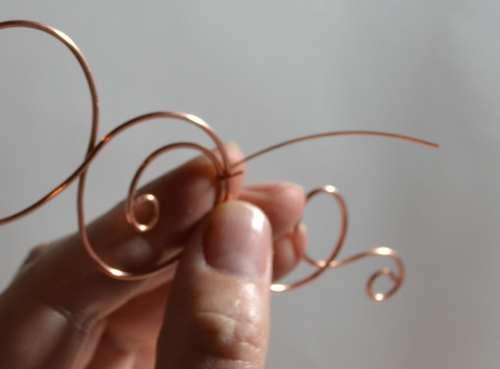
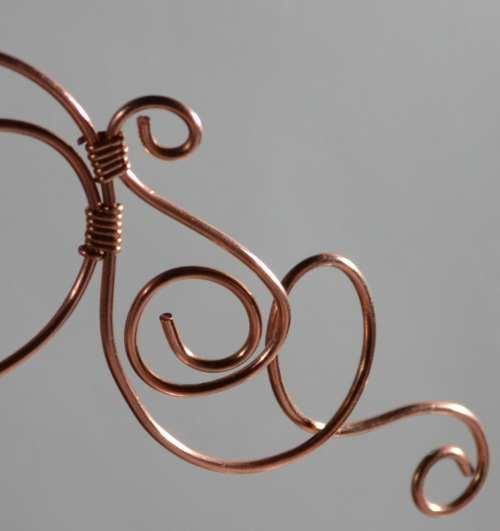
If that wasn't enough, I began thinking about the way a pumpkin has little tendrils that curl like springs, and hey, my carriage needed tendrils.
 |
| Tendrils and wrapped silver colored wire right side |
 |
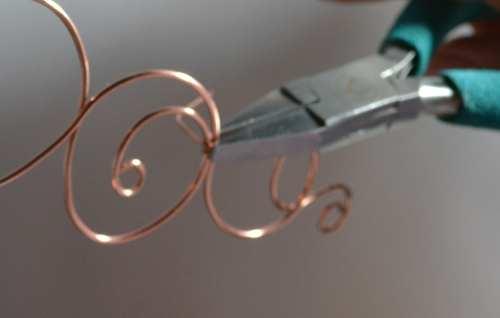
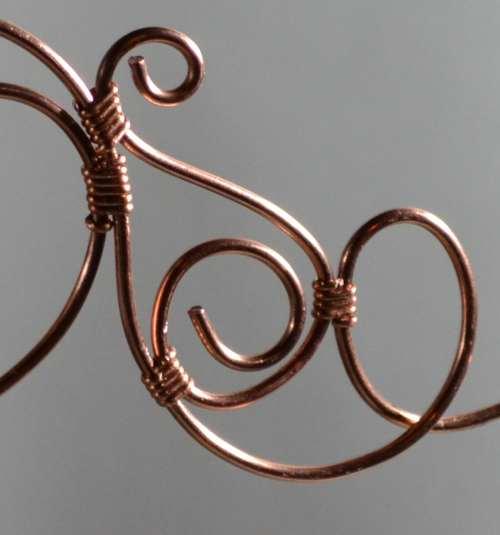
| This is how I added the tendrils. I wrapped the 26 g around a piece of 12 gauge copper wire |
 |
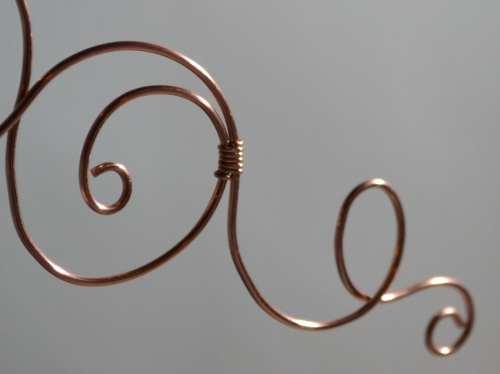
| right side complete |
 |
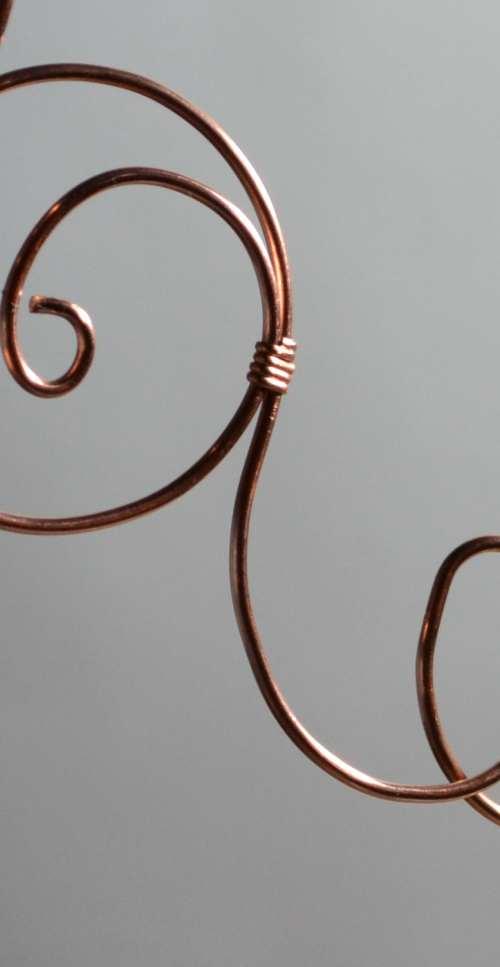
| Left side. Pretty! |
 |
| This is what it looks from the inside |
 |
| finished--sorry for the poor picture, I didn't have a good light source and it was raining |
 |
| ~22 cm long, just right for my wrist |
 |
| close up of the carriage weave |
 |
| I'm so proud of my work. |
So what's the problem?
Now that it's completely assembled,I'm in a quandary about finishing it into a bracelet. It's too pretty to bend, but it's too big for a necklace component.
So people--I'm asking for a consensus. Should I finish it as originally planned--a bracelet? or as something else?
By the way, this part 2 came out better didn't it?
Peace
Zsmom