Showing posts with label bracelet. Show all posts

Sunday, July 10, 2016

Photos of Dugdemona Summer Festival booth

Here's some pictures.
bracelets, pendants, copper, silver, crowns, circlets, earrings, hairpins, bangles

beaded bracelets, pendants on rattail cord, woven copper wire bracelets
pendants on rattail, macrame bracelts, beaded glass bottles, crystal


beaded necklaces, copper necklaces, one of a kind necklaces

pendants, semi precious stones, woven wire, wire work

close up of necklaces
Here's a few gift items I made.
hair bows, makeup clothes, notebooks, chalk boards
Hair bows, cotton reusable makeup clothes,
recycled paper drawing notebooks, small chalk boards

paperclips, book marks, chalk boards on copper stands.
Chalkboards on handmade copper stands, and bookmarks for the notebooks

If there is any item you are interested in, email me and I'll check to see if I still have it.
Peace,
Sheryl

Dugdemona Summer Festival Yesterday

My hubby, daughter and I set up yesterday in the heat. It's the 1st annual Festival in downtown Winnfield, La. And it was full of all types of vendors and live music. There were even some great activities for kids.
Here's my booth. 
In the heat. I think I melted. 
The rest was fun.
booth, Winnfield, Louisiana, handcrafted jewelry, July
Booth #15 Yup that's me and Hubby.
Setup at 8:30 am, but I think that I could have been there earlier. Good ol' lot 15. I was supposed to be at #14, but I didn't know it then (2 days earlier, I was told 15, so I began setting up there). The staff were busy with others, so I took initiative and began. About 1/2 way through the process, one of the people in charge, came by and I learned of my mistake, but no foul, she let me continue and just moved whoever was supposed to be where I planted myself. All of the staff I spoke to were very nice and courteous. Next year will be better now that the kinks have been worked out. Hopefully 400 degree weather will not be on the schedule. Maybe it wasn't 400 degrees, maybe I'm exaggerating, it was more like 250. Ha. 

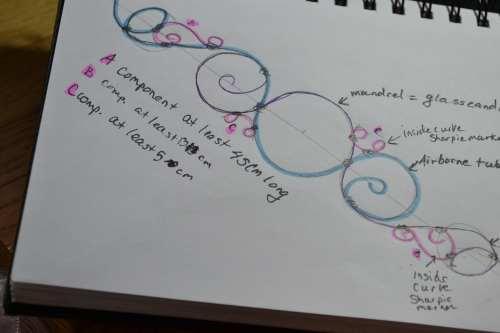
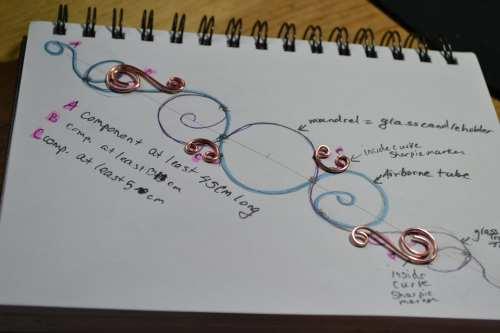
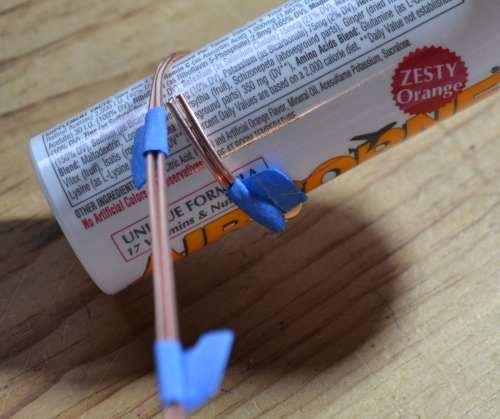
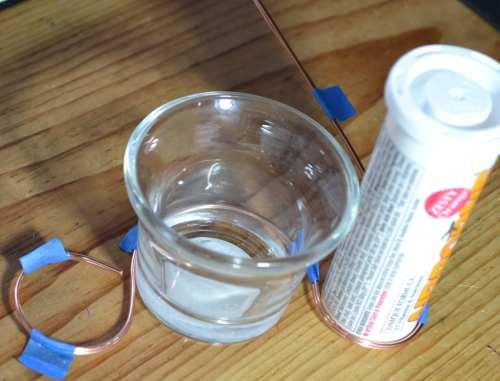
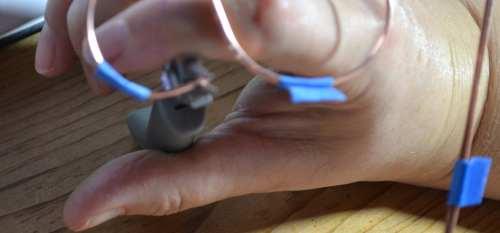
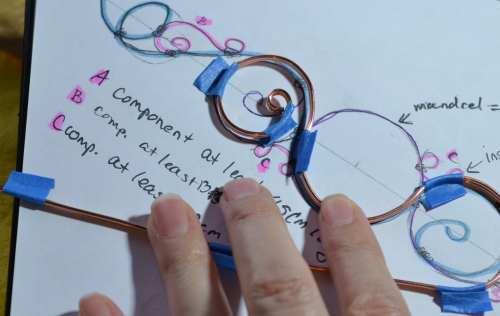
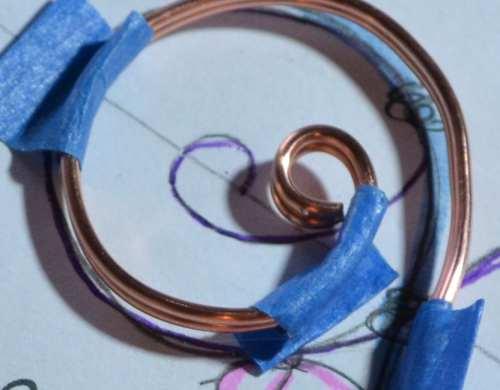
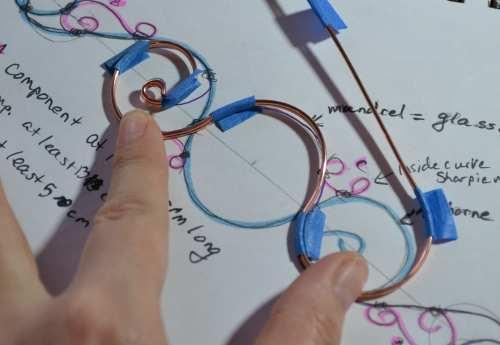
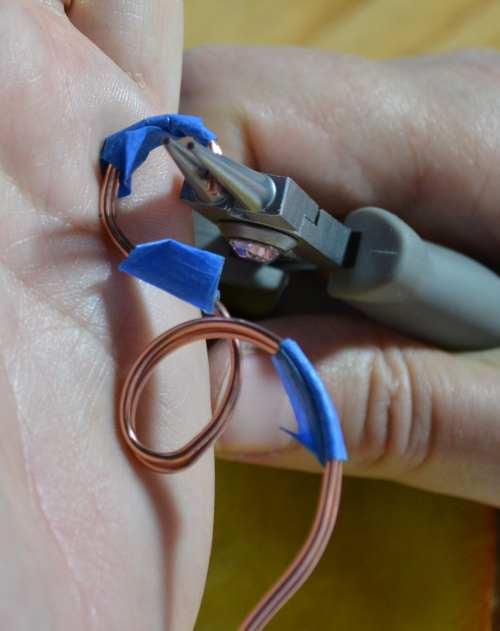
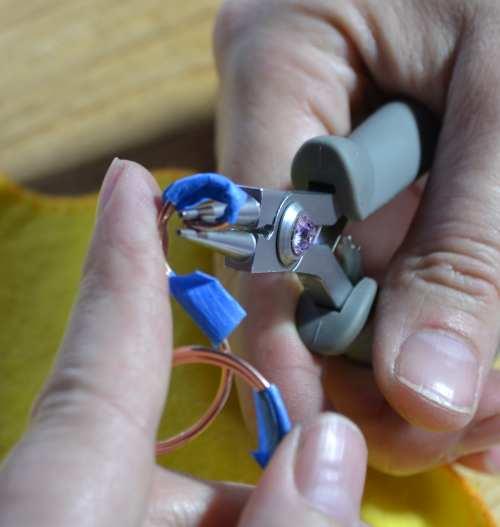
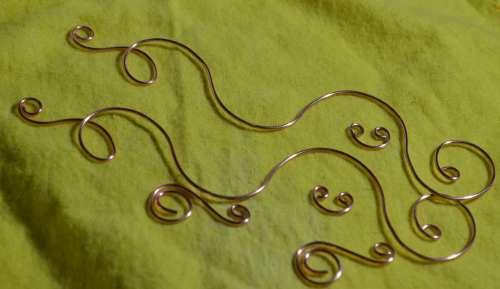
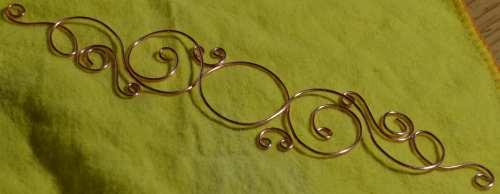
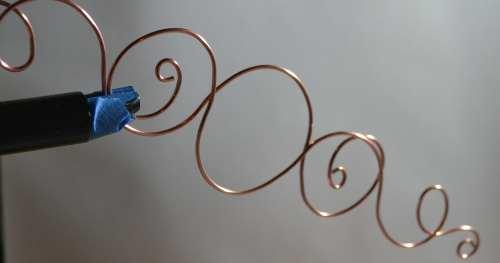
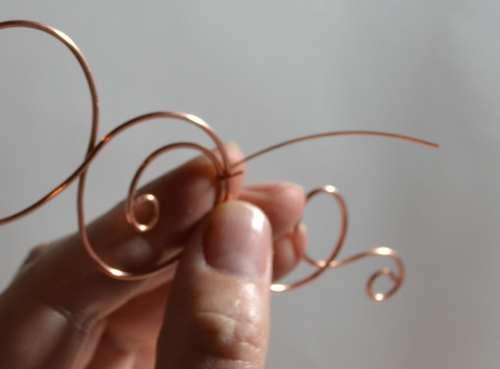
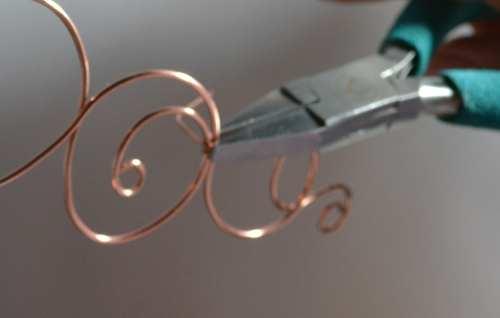
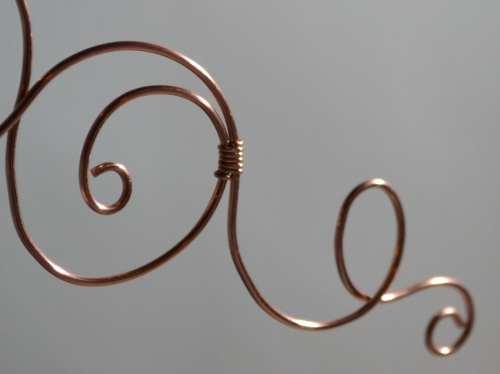
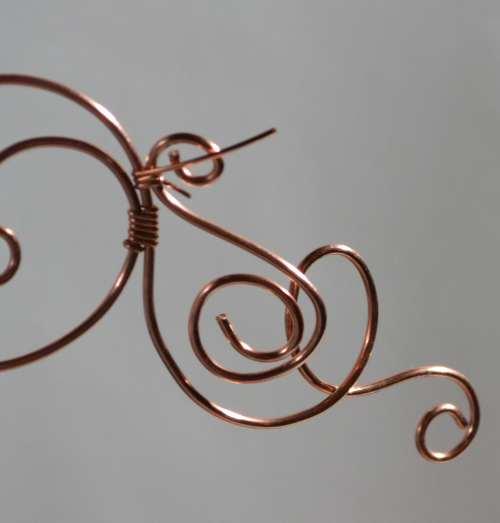
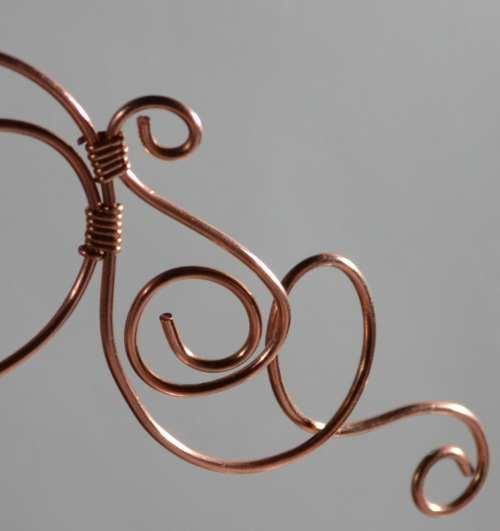
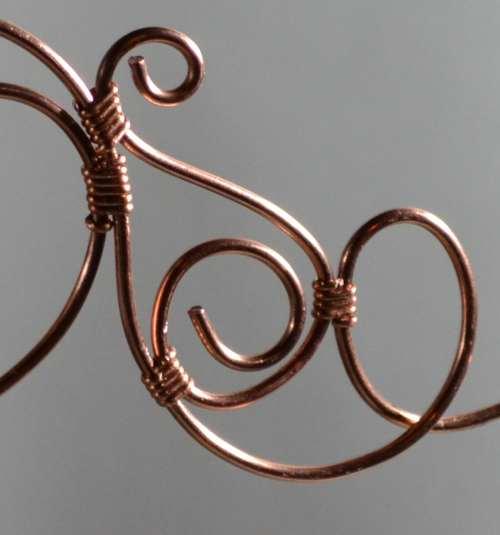
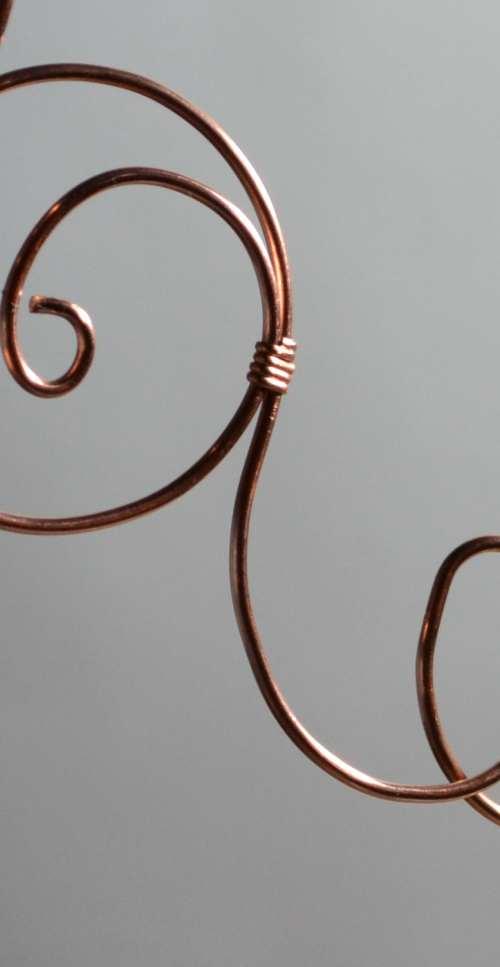
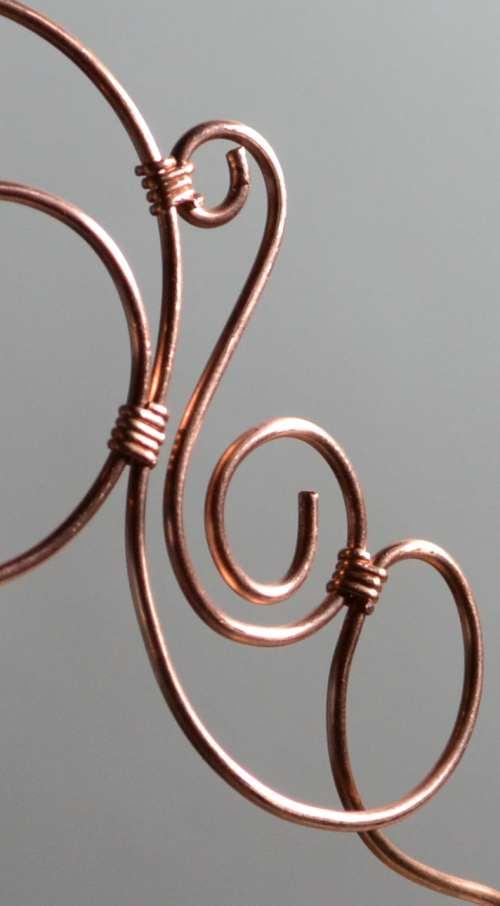
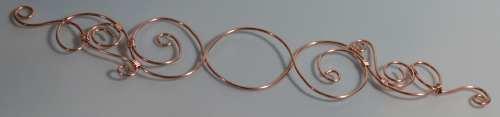
I had many folks check out my handcrafted items, and they loved how beautiful the pieces were. I felt quite encouraged. My friends and family always said my creations were pretty, unique, beautiful, and awesome, but they have to say that don't they? I had a big glass pink "diamond" (you know, the kind Hobby Lobby sells) that more kids asked if it were real or not. I was quite amused. I'm going to post some close up photos of the stuff as soon as I can get the pictures to this computer. 

If anyone is interest in an item they see, email me with "Booth item" as part of the subject line, and I'll see if I have it still. Loved visiting with the people, and eating the food. Hated the extreme temps although we were blessed with a steady breeze all day. 

BTW question: Does anyone have a suggestion for making weights for my tent? My dear hubby searched all the stores we could think of between here and Lafayette, La. and even had my brother-in-law look too. Any help appreciated. Thanks a bunch. Sheryl

Tuesday, January 1, 2013

Cinderella’s Pumpkin Carriage Tutorial part 2


Here goes nothing.

I got to this point and had intended on molding the bracelet around of a mandrel at that point. But it just cried out for some embellishing since it was “Cinderella’s Pumpkin Carriage”. I mean, what type of carriage was only copper colored?

Remember, I started with componenets

wire-wrapped them together
 This is where my problem started. I had some silver plate copper 26 gauge round wire, small silver beads, and some blue/purple (depends on the light) cubic beads.
Hmmmmmm. Looks like I could use viking weave in the center to make the beginnings of the carriage body. When I did decide to embellish it, I went all the way.
So here is the carriage body

Viking weave with silver beads placed in the loops
Side view. Yes, it sticks outward. Convex shaped
If that wasn't enough, I began thinking about the way a pumpkin has little tendrils that curl like springs, and hey, my carriage needed tendrils.

Tendrils and wrapped silver colored wire right side

This is how I added the tendrils. I wrapped the 26 g around a piece of 12 gauge copper wire

right side complete

Left side. Pretty!

This is what it looks from the inside

finished--sorry for the poor picture, I didn't have a good light source and it was raining

~22 cm long, just right for my wrist

close up of the carriage weave


I'm  so proud of my work.
So what's the problem?
Now that it's completely assembled,I'm in a quandary about finishing it into a bracelet. It's too pretty to bend, but it's too big for a necklace component.

So people--I'm asking for a consensus. Should I finish it as originally planned--a bracelet? or as something else?

By the way, this part 2 came out better didn't it?

Peace
Zsmom

Monday, December 31, 2012

Cinderella’s Pumpkin Carriage Tutorial part 1


Cinderella’s Pumpkin Carriage Tutorial

So, I was doodling and came up with a pretty wire design for a cuff bracelet using round wire. As I began to form the frame using dead soft 14 gauge round copper wire, my daughter, Sarah, says, “Hey, that looks like Cinderella’s carriage as it turns from a pumpkin to the carriage!” Thus the name of my piece was born, but in the end it also caused a quandary.
First –a rough draft—it came about because I wanted a very fluid piece.   I made the small components first, and taped the longer wire together to allow me to bend them at the same time. I used a mandrel for the beginning curve. Then used a larger mandrel for the big curve. Then back to the smaller curve. 

While the wires are still taped together, I turned the little loop with round nose pliers. 
So far this is what it looks like. 
So using my pattern, I checked the curves—uh oh—a problem. 
My little loop doesn’t line up.
I readjusted the curves and continued following the pattern. 
Continuing the pattern. 
Little more to go. 
a bit more at the end. 
 I had to cut the extra wire length. (on my notes I subtracted the extra I cut off to update my measurements in my notebook.
sorry for the blurriness. I forgot to file the cut ends to smooth them until now. 
My next one I make will be filed before I begin bending it. 
I had to use my palm to bend the last part of the pattern—a small loop.
then pressed the last way with my index finger.
 Now all the components are made. I lined them up. Looking good! 

I used a fisherman’s fly vice to hold my frame. Thanks Dad for the suggestion to use it. 
closer view—time to wire-wrap the connectors. 
  I used ½  round 21    
gauge copper.       
Now the other side.  
Now it’s all together.
…What to do now? See part 2.